Tuesday, August 15, 2006

Halibut in Tomato Fennel Stew


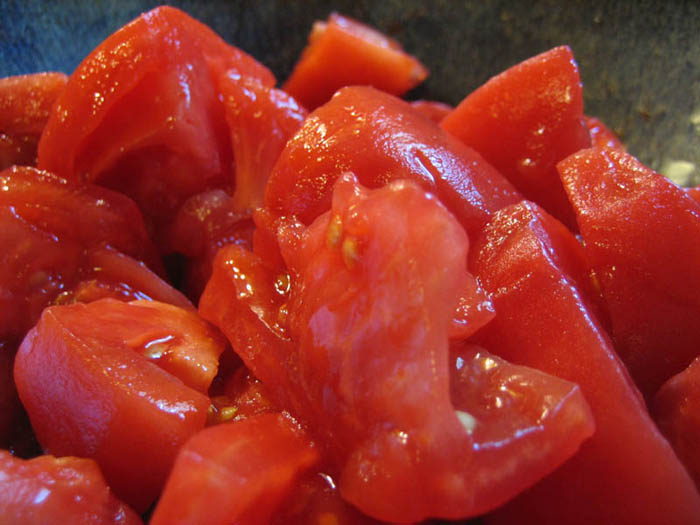
Tomatoes, Tomatoes, Tomatoes! Organically grown, big, ripe and juicy - how can one resist?
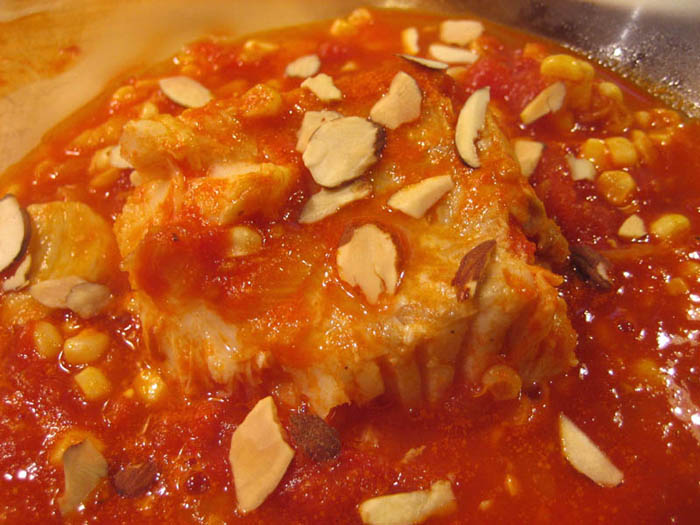
I must have been channeling Sher at What Did You Eat?, when I thought of this dish. She posted a divine looking Black Cod in Tomato-Fennel and Saffron Stew that I'm sure had a subliminal effect on me when I purchased the fresh, organic tomatoes, fennel, sweet corn and line-caught halibut fillets to make into a delicate yet rustic stew. This was a combination of sweet, savory, mellow, and spicy, with just a a bit of crunch from the toasted almonds; the fish melt-in-your-mouth delicious. Simple to prepare, warming yet light, it satisfies a hungry tummy.
Ingredients:
1 medium bulb fresh fennel, trimmed and chopped
3 tablespoons olive oil
2 garlic cloves, chopped
1/4 teaspoon crushed red pepper flakes
1/2 teaspoon fennel seeds, lightly toasted then ground in a mortar
1/8 teaspoon saffron threads (I got mine from Peet's)
5 large, organically grown, red tomatoes, peeled and coarsely chopped
2 ears fresh, sweet corn, cut from the cob
Kosher salt and fresh, ground black pepper
2 medium size halibut fillets, cut into 4x4-inch pieces
1/4 cup sliced almonds, toasted
Preparation:
Place the fennel seeds in a dry skillet over medium-high heat and toast, stirring them constantly, until they become fragrant, about 3 minutes. Remove from skillet and allow to cool then grind in a mortar and pestle to a coarse powder.
Cut the fennel bulb in half from top to bottom and then slice crosswise into 1/2-inch slices.
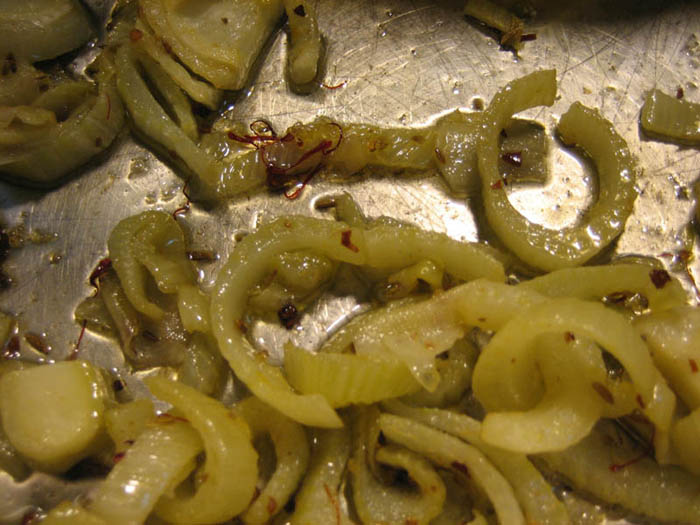
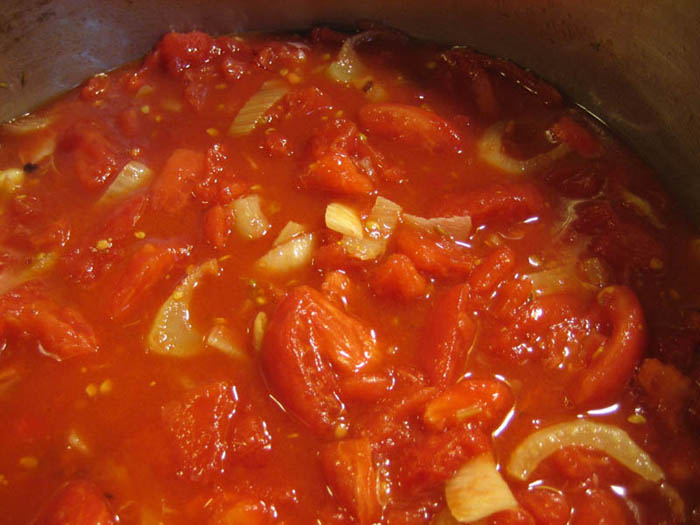
Adding the oil to the skillet, saute the fennel until it is soft. Add the garlic and cook, stirring for about 1 minute then add the ground fennel, saffron and pepper flakes. Continue to stir about 1 more minute then add the peeled, chopped tomatoes. Add salt to taste and allow to simmer until the stew has thickened, about 15 minutes.
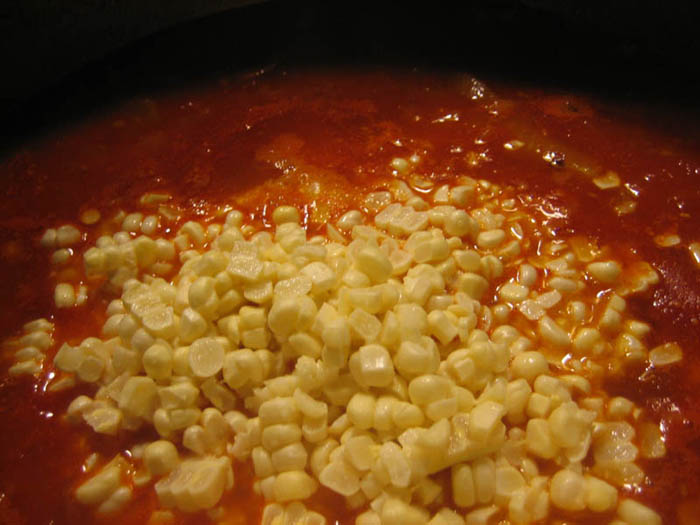
When the stew has reached the consistency you desire, add the corn kernels and stir to distribute then add the halibut fillets, pushing them into the stew gently to cover them with the liquid. Cook gently until the fish is tender but done, about 10 minutes total.

To serve, remove a piece of halibut to a bowl and ladle the stew over and around it. Sprinkle with the toasted almonds and serve with warm, crusty bread.
This stew was perfect for the cooler weather we are experiencing. The fog has been rolling in morning and evening, cooling daytime temperatures and prompting the application of layered clothing and preparation of warming meals.

Friday, August 11, 2006

Herb Encrusted Pacific Snapper


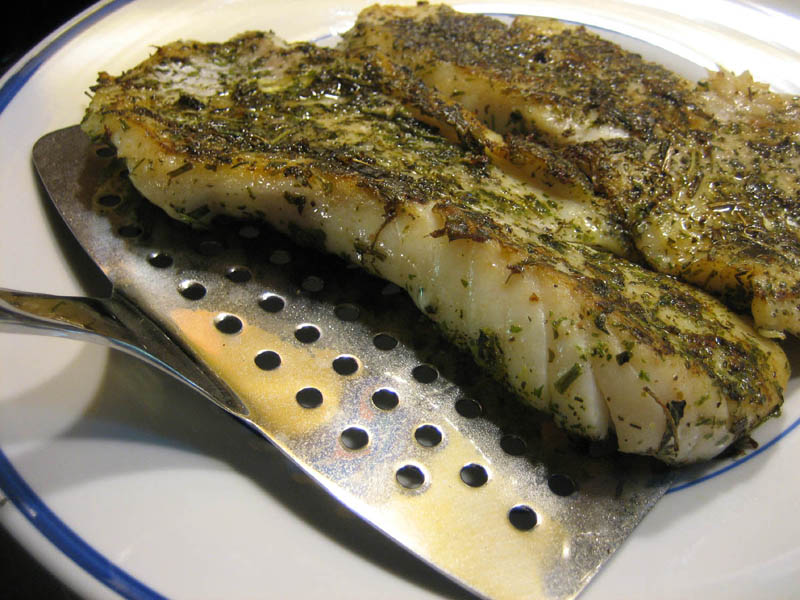
Our local grocery store, Murphy's, has a fresh fish (and meat) department where you can pick out just what you want, have it wrapped then handed to you by a friendly person. I love this kind of service and we folks here on the north coast are lucky to have three such grocers, the North Coast Co-ops, Wildberries Marketplace and Murphy's Markets. As do the others, Murphy's prides itself on buying from local fisherman and ranchers whenever they can. Yesterday, they were featuring fresh, local, line-caught Pacific snapper. Fresh snapper, a type of rockfish, caught from our local cold Pacific waters is very, very good. I, being no dummy, brought some home, covered them in freshly dried herbs and cooked them up today with a white wine, lemon zest and fresh chive pan sauce.

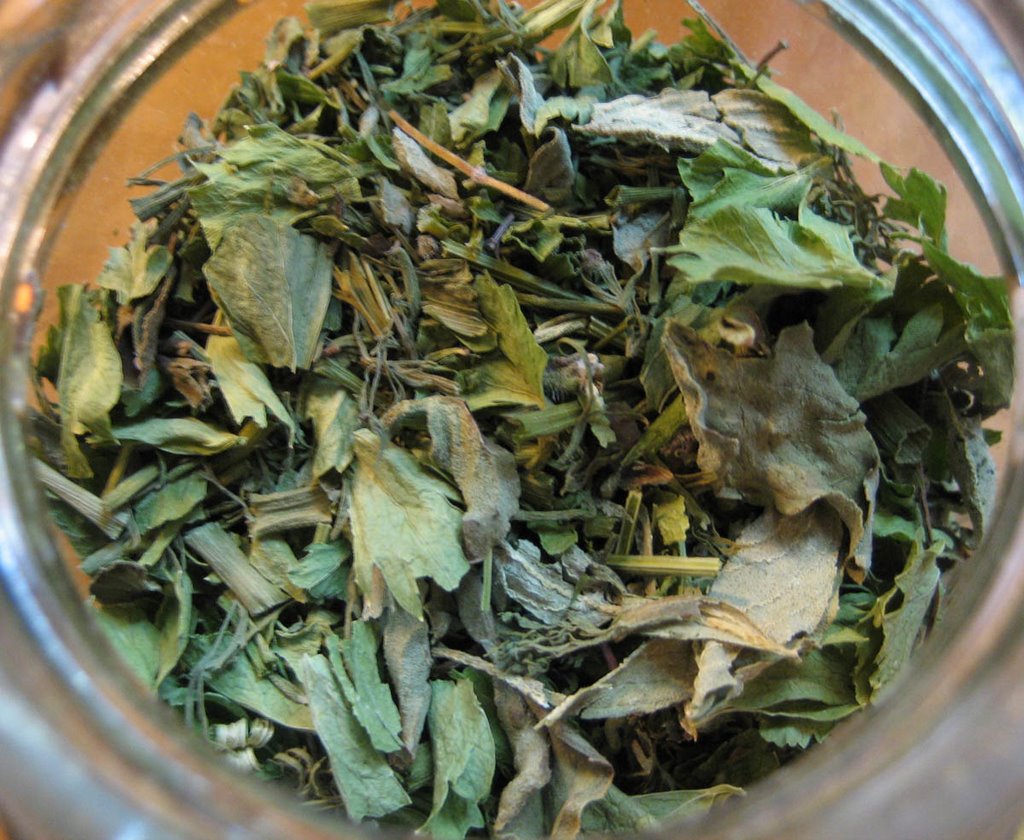
I used locally produced, Claudia's Fantastic Fish Blend as the herb base for the coating. Sold at Murphy's, this blends consists of lemon basil, chives, dill, thyme and celery, all dried and jarred to sell in our local markets each year. Claudia uses organically raised herbs from her farm in Orleans, about 30 miles inland from the coastal area where I live. As far as I can tell, she only sells locally so if you want to try some of her Fantastic Fish Blend, you'll have to come to one of the above-named stores, the local Arcata Plaza Farmers Market on Saturday mornings through November, or buy me lunch and I'll have a jar conveniently tucked into a pocket.


Ingredients:
3 medium snapper or rockfish fillets (fresh is best; line-caught even better!)
5 tablespoons Claudia's Fantastic Fish Blend, crumbled
2 teaspoons grated lemon peel (use a microplane for best results)
1 teaspoon kosher salt
1/4 teaspoon freshly ground black pepper (I use Tellicherry)
1/3 cup medium-dry white wine
2 tablespoons pear nectar (which is what I had) or white grape juice
juice of 1/2 lemon
grated zest of lemon (to your liking)
snipped fresh chives

Preparation:
Gently wash snapper fillets under cold water and pat dry.
On a large plate, mix the dried herbs, lemon zest, salt and pepper until blended.
Heat a skillet to medium-high and add a drizzle of olive oil and a small spoonful of butter.

Meanwhile, gently press the herb mixture onto the snapper fillets.
When the butter sizzles, place the fillets in the pan, not touching, and cook about 3 minutes on each side or until the flesh just begins to flake when pricked with a fork. You may have to adjust the heat to keep from burning the herbs. Remove the fish to a clean plate and keep warm.

Maintaining the heat under the skillet, add the wine and juices to the pan, scraping up any browned bits from the bottom. Boil until the sauce has reduced and thickened. Immediately remove skillet from the heat, add the lemon zest, some finely snipped, fresh chives and serve the sauce over the snapper fillets. Your tongue and your tummy will be very happy.
This is my offering for the Weekend Herb Blogging event at Kalyn's Kitchen. Kalyn's round up will be on Sunday evening and food bloggers wishing to participate should email Kalyn with their links by 3:00 PM on Sunday, Utah time. To check out the WHB guidelines, click here. This is my favorite blogging event. I get to "meet" new food bloggers from all over the world, try new recipes, and learn new ways to use herbs. Fantastic!

One more thing: if you like to cook fish and you don't have one of these yet, please do consider buying one.

I don't remember where I purchased this, it could have been Bed, Bath & Beyond or World Market, but I know I paid less than $20.00 for it and it's worth every penny. No fish fell apart during the cooking and photography of this session.

Wednesday, August 9, 2006

My New Victorinox Tomato Knife


Inspired by Sher's tomato sandwich and Kalyn's heirloom tomatoes, and feeling sorry for myself that I had neither, I happily stumbled upon a display full of mixed heirloom tomatoes at our local Co-op for just $3.49 a pound and bought some immediately.
The minute I got them home I washed a huge green and pink tomato, pulled out my new tomato knife, some good whole wheat bread, a jar of mayonnaise, the Maldon Sea Salt and some arugula and BAM! I was in tomato sandwich heaven - At last.


This post, while certainly relating to tomatoes, is more about the knife with which I cut them. I know I don't plug kitchen tools very much on this blog (at least not without ending up with egg on my face), but when I find a tool that works nicely, I'll certainly tell you about it. So, while in Ashland last week in the kitchen section of an emporium-style store, I spied a Victorinox tomato knife, all sealed up tight in its plastic sleeve, sporting a $6.95 price tag.
Victorinox makes the infamous Swiss Army Knife, of which I am a proud owner. (I have the big one with all the blades and the corkscrew plus the toothpick and the tweezers, all still intact after more than 20 years.)
How could I go wrong buying a rather small, very lightweight, very inexpensive, single purpose knife? Turns out I couldn't. This little gem really works. It makes beautiful tomato slices quickly and easily. I know there are fancier, more expensive tomato knives on the market, and I haven't tried any of them so I can't discuss their merits but for my money, this little tomato knife gives a great big bang for bucks well spent.

Monday, August 7, 2006

Grilled Caesar Salad

I'm just back from 5 days in Ashland, seeing excellent plays, eating great food and, best of all, visiting with wonderful friends. I had thought to write a few posts while I was there, but after several days and a number of missed photo opportunities went by, I realized that I wasn't there to blog; I was there to have carefree fun and fully give myself over to being with my friends. And while I'm normally quite adept at multi-tasking, I guess I'm just not up to the task of blogging while on vacation, much as I might aspire to do so. Oh well, I'll leave that to others who do it so much better.

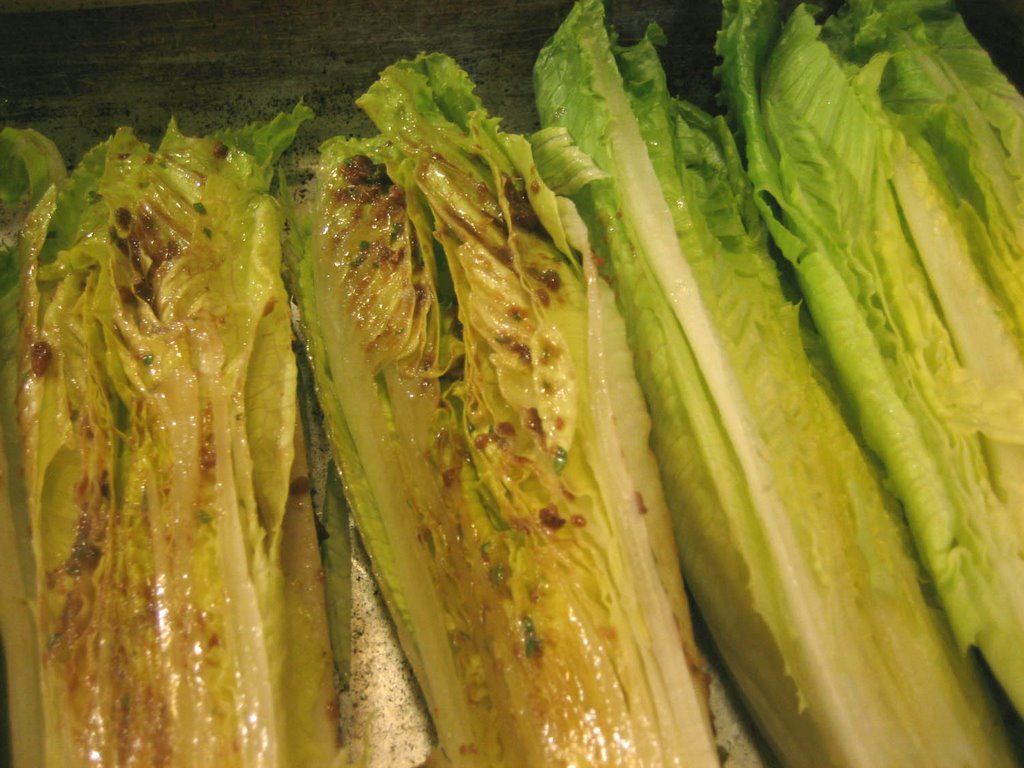
So what does all this have to do with the title of this post? While taking a walk through an Ashland neighborhood with dear friends Linda and Susan, Linda told me about this grilled salad that she and her husband make in the summer. Thinking I would remember the ingredients, I didn't write them down, silly me. So I had to improvise on what I thought I remembered her telling me. As I was putting this together it reminded me of Caesar salad, thus the title. This is so darned delicious and different from anything I've done before. Just how does one "grill" a salad? Here's how: (And if I've strayed too far from your ingredients Linda, my apologies.)

Ingredients:
3 hearts of romaine lettuce, floppy outer leaves removed, core end left intact
2 ounces anchovy fillets, chopped fine (about 3 tablespoons chopped paste)
1 teaspoon garlic paste
2 teaspoons very good (8 year old) balsamic vinegar
1 tablespoon extra virgin olive oil
1 tablespoon finely chopped fresh basil
freshly grated parmesan for topping


Preparation:
Pre-heat grill to medium high. (We have a gas grill; a charcoal grill would work as well.)
Chop the anchovy fillets and mash to a fine paste then add the garlic paste, balsamic vinegar, olive oil and chopped basil. Whisk well to combine. (If you buy the anchovy fillets packed in oil, drain the oil before mashing them.)
Cut the hearts of romaine in half lengthwise through the core end, keeping the leaves attached to each core half.
Using a pastry brush, brush the anchovy paste onto the cut side of each romaine half then turn over and brush the other side. Use all the paste for this step.
Place the romaine halves, cut side down, on the grill and cook for 3-4 minutes. Turn over carefully and grill an additional 3 minutes. The lettuce should be crispy and golden on the outside and meltingly soft on the inside.
When done, sprinkle with the parmesan cheese and serve immediately.

As we sat at the table devouring our 'salad', I decided that here's what I'll do next time:
Prepare the anchovy paste, omitting the fresh basil, and set aside.
Depending on the number of salads you're making, slice the same number of long, thin slices from a round of good sour dough bread and brush both sides of each piece with olive oil. Place on a parchment paper-lined baking sheet and toast in a 500-degree oven for about 10 minutes, turning the pieces over halfway through the toasting time, until the slices are golden brown. Remove from the oven and immediately rub one side of each 'crouton' with a piece of peeled, fresh garlic.
Prepare the romaine hearts as above and when they're finished grilling, lay each one on a crouton, sprinkle with parmesan and serve hot.
Now that's a grilled Caesar salad!

Monday, July 31, 2006

Leaving ... Again!

I took the day off from blogging about food today so I could get some much needed and neglected "work" done. Yeah, that. All because we're leaving on Wednesday morning for five days in Ashland, Oregon. We're going see six plays (this is the Shakespeare capital of the world, isn't it?), eat delicious food and pal around with delightful and dear friends. I'll be back next week!

Sunday, July 30, 2006

Pork Tenderloin With Preserved Cherry Pan Sauce


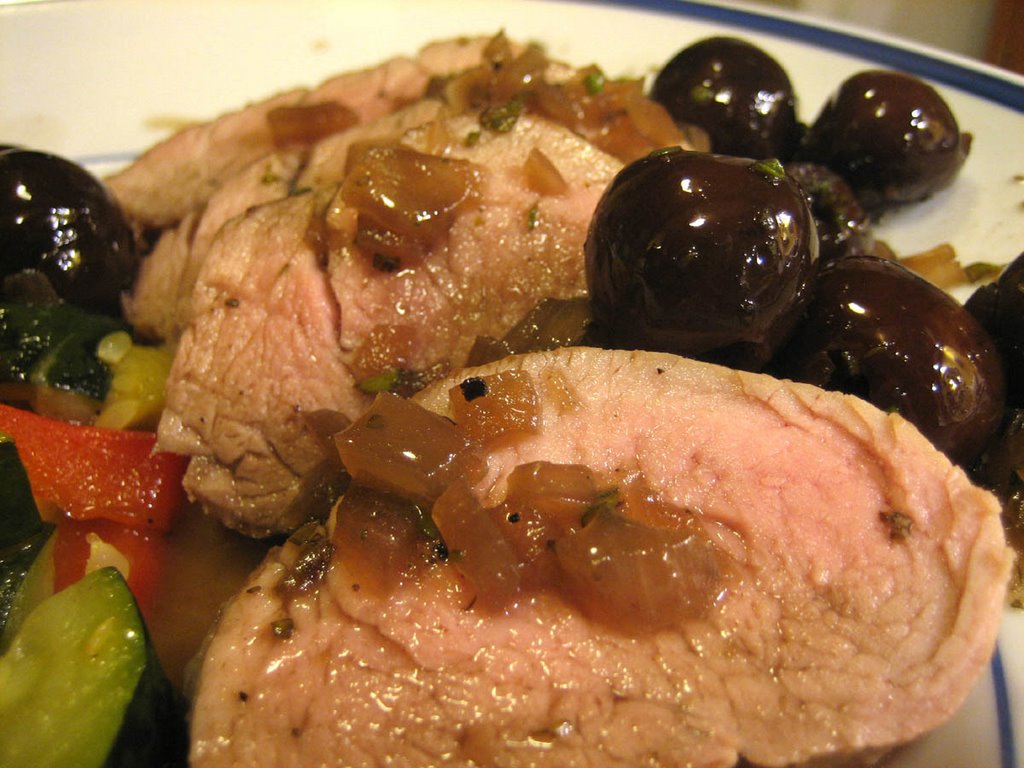
I know I said that I would use my preserved cherries in a seared chicken breast dish, but I changed my mind when I got to the store and saw the gorgeous pork tenderloins being featured. My husband loved this dish. I loved the pan sauce the preserved cherry syrup made but next time would either chop up the cherries or leave them out entirely as I found them to be too strong which distracted me from the meltingly tender goodness of the tenderloin. Using very few ingredients, this cooks up fast and easy.

Pork Tenderloins with Preserved Cherry Pan Sauce
2 pork tenderloins, about 2 pounds total weight
Kosher salt
Tellicherry pepper, freshly ground
olive oil
butter

Pan Sauce
1 heaping cup preserved cherries, pitted
1 1/3 cups preserved cherry syrup
1 cup chicken stock
1/2 cup sweet onion, chopped
1 tablespoon fresh thyme, chopped
3 tablespoons butter

Heat oven to 400 degrees. Have a roasting pan drizzled with olive oil ready.
Sprinkle the kosher salt and freshly ground pepper all over both loins and pat in.

In a large skillet (I use cast iron) add 1 tablespoon good olive oil and 1 tablespoon butter over medium high heat.
When skillet is hot, sear both loins on all sides until nicely browned, keeping them well separate from eachother. Remove loins to the roasting pan and place in the hot oven for 15 minutes or until medium rare.

Meanwhile, saute the onions in the skillet, scraping up the browned meat bits. When the onions are soft, add the chicken stock, syrup and fresh thyme and bring to a boil, continuing to get all the browned bits off the pan. Over high heat, let the liquids boil until reduced by 3/4. (This will take about the same amount of time that the loins will take to finish in the oven.) When reduced, add the cherries, if desired, and heat through.

Remove the pan from the heat and swirl in the butter, 1 tablespoon at a time, until the sauce thickens slightly. Season to taste with salt and pepper if desired.

Let the loins rest on a cutting board for about 5 minutes then slice across the loin into rounds. Serve with the pan sauce and a few cherries.

Saturday, July 29, 2006

Cherries Preserved In Armagnac


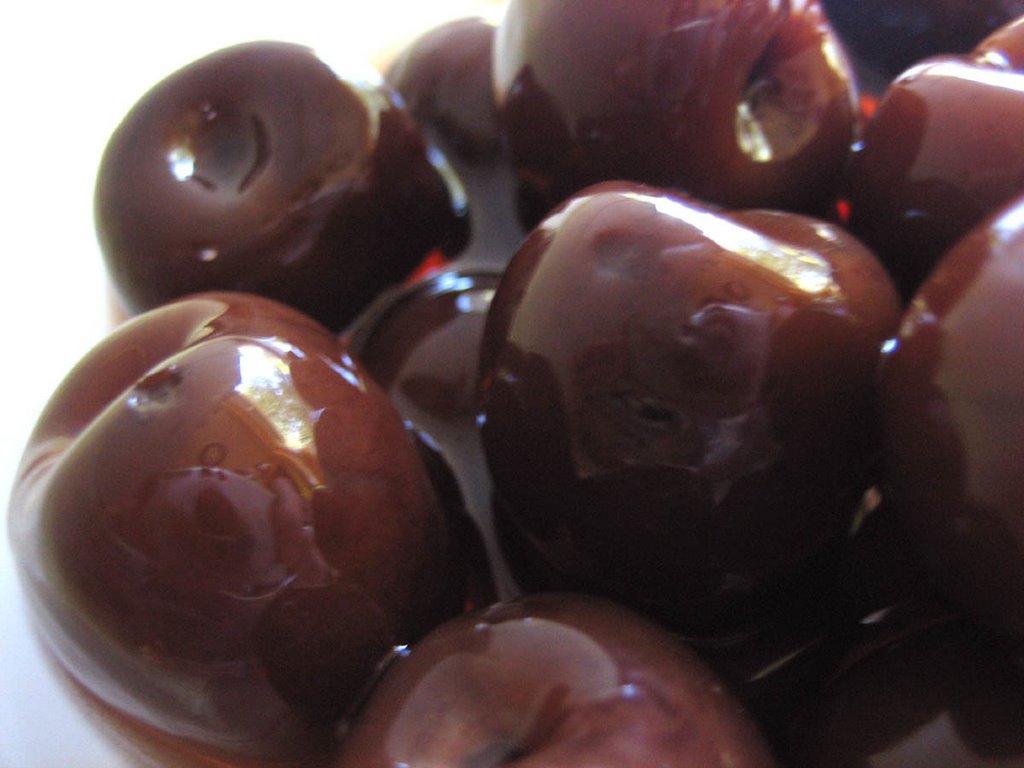
Here is a great method for preserving some of summer’s sweet cherries. Use these in mid-winter, if you can wait, as a dessert to spoon over ice cream or my non-fat frozen yogurt, or create a sauce for the quickly sautéed chicken breasts that I'll be posting next. Either way, sweet or savory, they’re wonderful. Can you see the image of my camera reflected in the cherries? I really have to work on my lighting techniques.

Cherries Preserved in Armagnac
Recipe may be doubled or tripled

3 cups cherries (Bing or other sweet, dark cherry), pits left in,
stems can be left on or removed
2 ½ cups good Armagnac or other good brandy, more if needed.

Wash cherries carefully and dry with a clean towel. Place them in a sterilized sealable jar and pour Armagnac over to cover all the fruit. Gently stir to settle liquid around all the cherries, seal jar and place in fridge for at least 3 weeks, longer if you wish.
Strain liquid into a sauce pan, reserving cherries in a bowl.
Add ½ cup superfine sugar (or granulated Splenda for low-carbers) plus one vanilla bean to the liquid. Stirring gently until sugar is dissolved, bring to just lukewarm over very low heat. Adjust sugar to your taste, re-warming to dissolve if necessary.

Place cherries back into the jar and pour the syrup over, including vanilla bean. Seal jar again and place in fridge to store. Remove the vanilla bean after 1-2 weeks.

Cherries can be used immediately or kept in the fridge for up to 1 year, though they will become stronger the longer they're stored.